My original H8 system came with a working CPU card. While I was corresponding with other Heathkit computer
enthusiasts at the
SEBHC website and forum, I ran in to someone who was looking to reducing their inventory of H8 parts. In a generous offer he shipped me a H8 CPU, a H8 front panel and a few hard to find parts.
Normally I try to collect enough parts to repair or replace most anything on all my restorations. So the hard to find parts received where gratefully added to my H8 spare parts inventory.
Both PC boards where already in the process of being restored. The CPU board already had all the IC sockets and a few parts removed.
I started my normal restoration process of evaluating the board, generating a list of areas of concern and finally an action item list. The CPU board was a good condition with only a few areas of foil damage that needed special attention.
First both sides of the PC board where cleaned of any dirt, corrosion and old solder flux. Like many early boards shipped by Heathkit, the was solder mask was only on the back side of the CPU board. The 35+ years old solder masks was flaking away with age. Something I have seen all to often in my other restoration projects.
All the IC sockets where replaced with high quality versions. Since I knew there where some solder connections to be made under several IC sockets on the top side of the board, the sockets selected had provisions to allow soldering on both sides of the board. Each completed soldered joint was electrically verified for proper continuity.
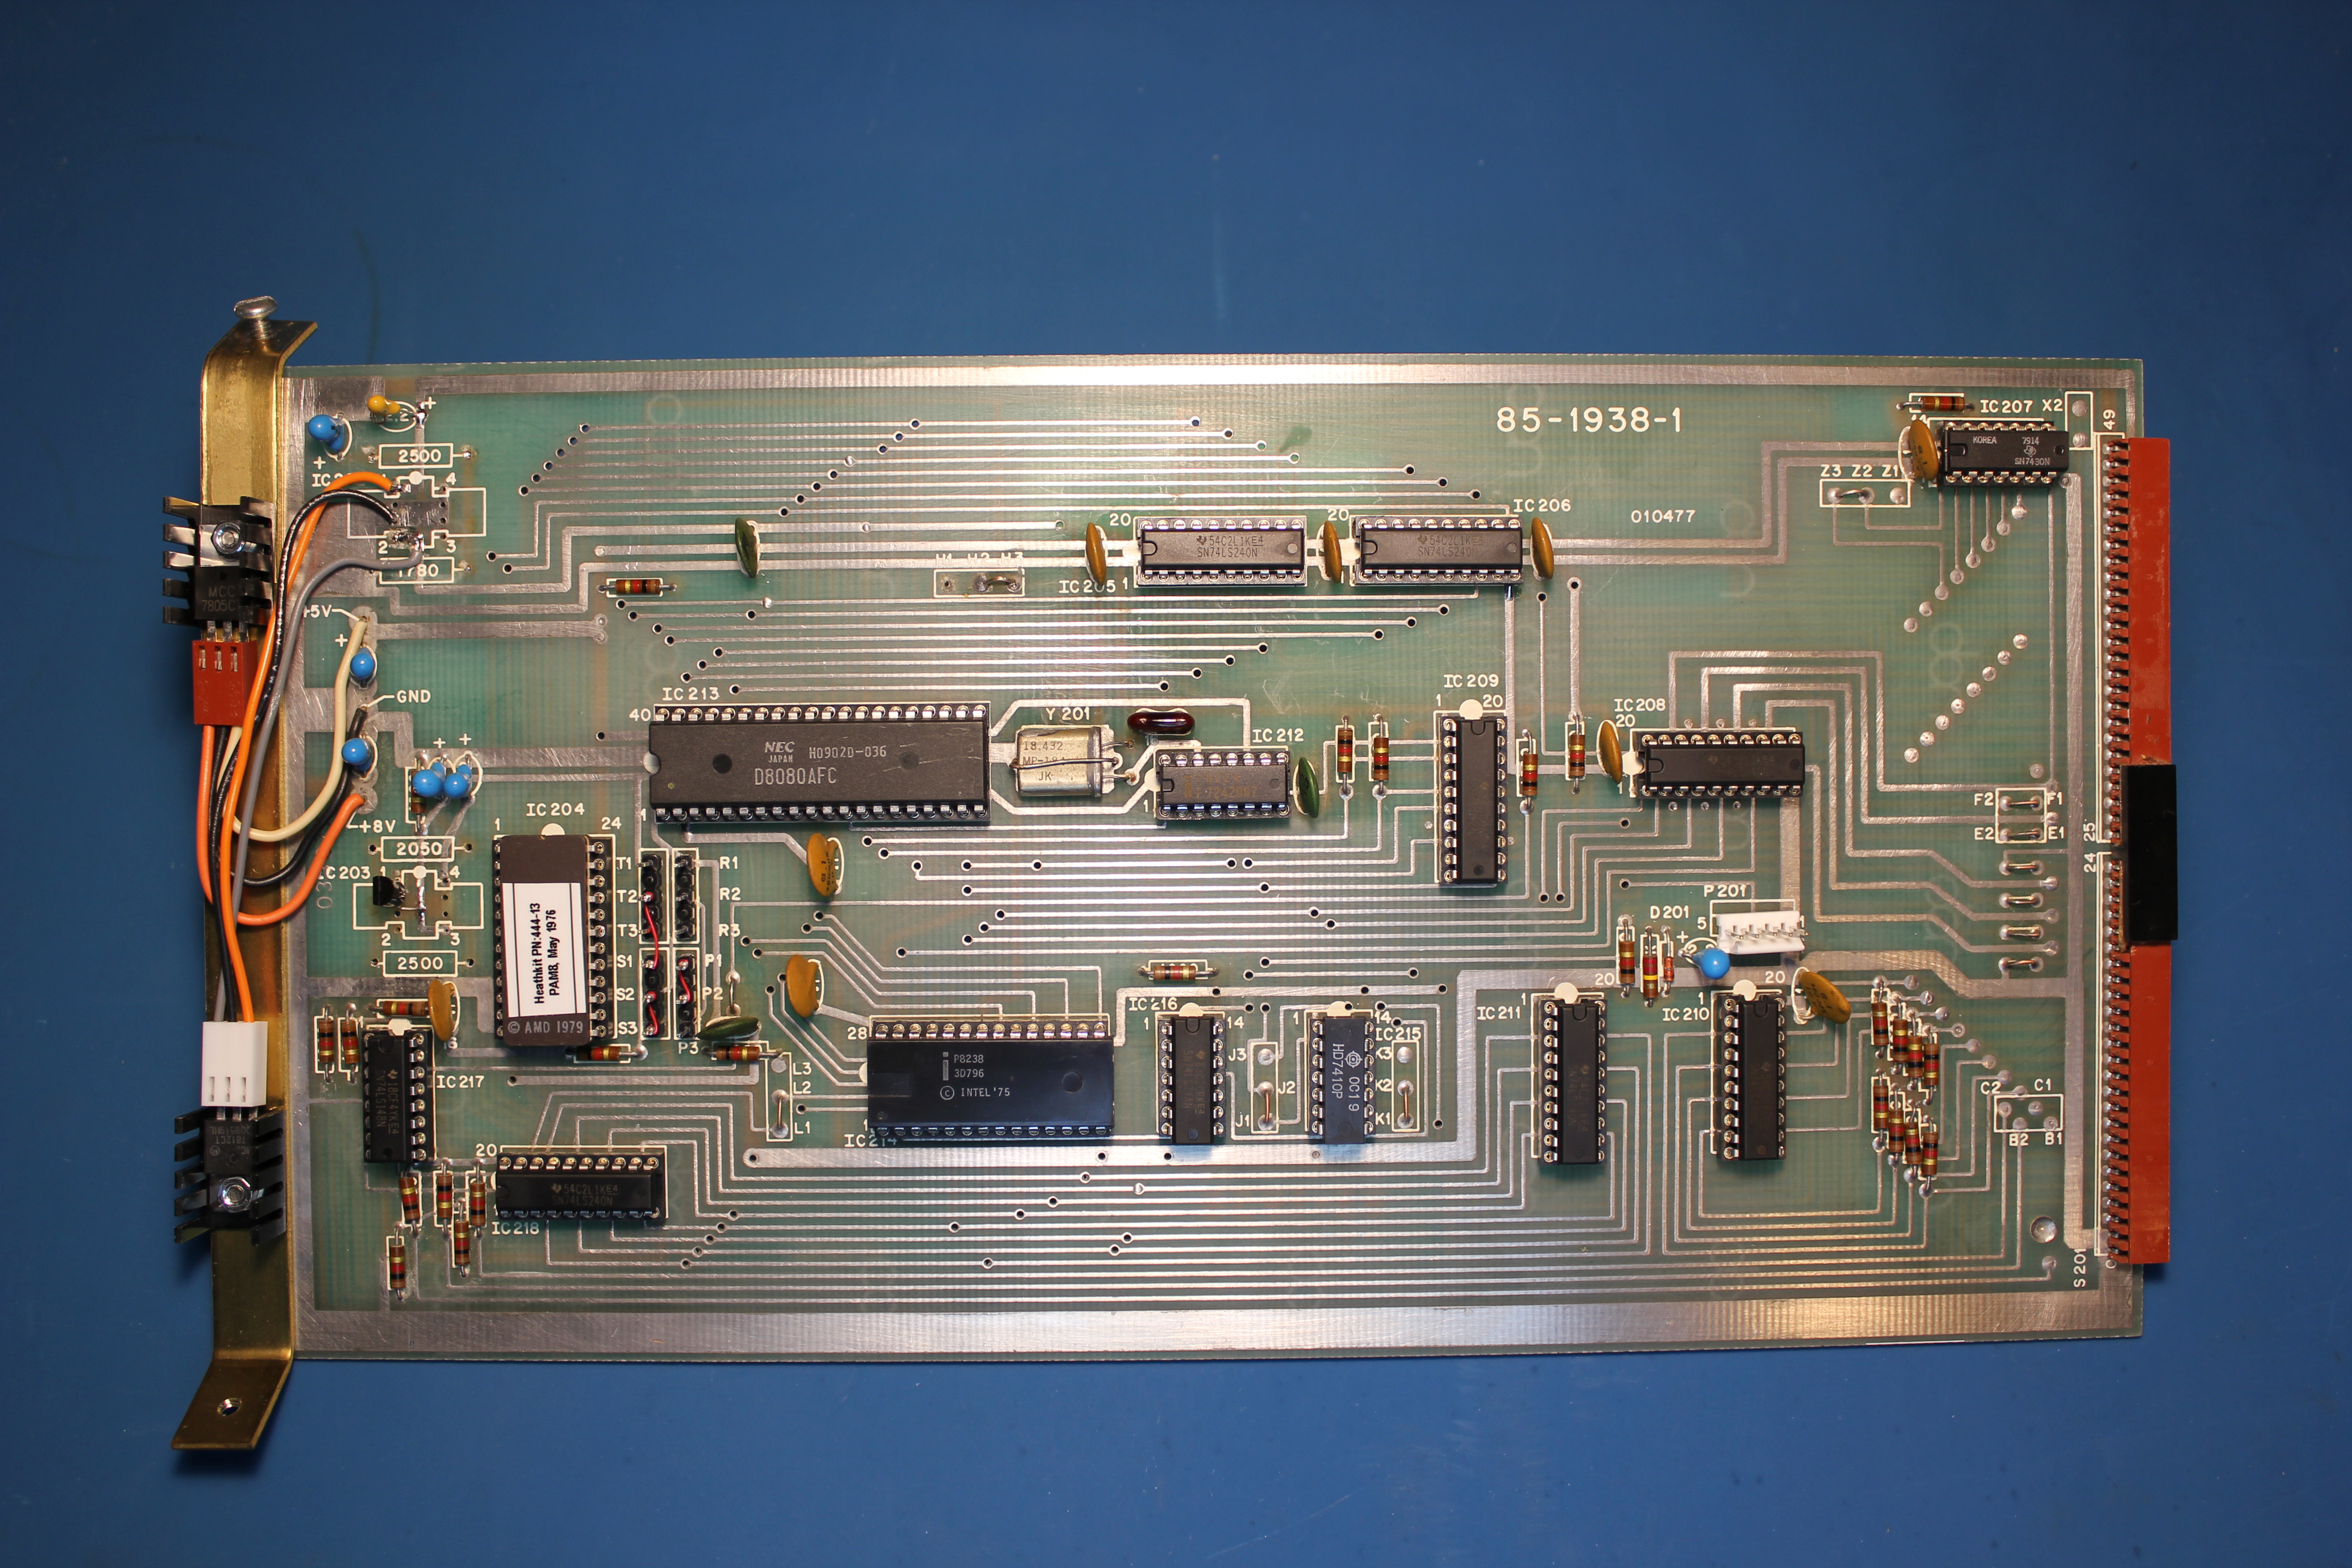
Some modifications where need. The H8 CPU board used three voltage regulators. One for +5 volts, another for -5 volts and finally one for +12 volts. Unfortunately the +12 volt and -5 volt regulators original selected by Heathkit engineers are today next to impossible to fine. The readily available 79L05 (-5V) and 7812 (+12V) regulators where used. While I was at it I used a new 7805 (+5V) regulator. All three regulators can be seen on the left side of the CPU board in the supplied picture.
Since the board did not come with an aluminum mounting bracket, I ended up fabricating one out of 1/2 x 1/16 inch brass stock. Yes I said brass. I did not have any aluminum stock in the size I needed. Given the updated voltage regulator section, my bracket design was quite simple. Two 6-32 tapped holed on each end to secure the board assembly in to the case, two 5/32 clearance holes to mount the PC board/voltage regulators to and two bends at each end to mach the Heathkit mounting system.
Finally I power up the board without any ICs to verify the voltages. I then installed all new ICs, installed in to my H8 system case and powered it up. Everything worked the first time! I ran a 48 hour burn-in/ memory test for verify proper operations was indeed achieved.