astrorat.com

The H8 Restoration Begins

So the H8 did not work out of the box...no surprise.
The unit was shipped to me in a box that protected the H8 from the many horrors found in shipping these days. It was indeed in good physical condition just as the pictures indicated. 

But the H8 did not power up correctly.

This really did not really surprise me in the least. The seller was up front about not being able to verify that the system fully worked. The pictures showed the unit powered up but when I applied power, I got nothing. I knew this was sold as an as-is purchase and I am prepared to fix any issues that are found.
The problem that stopped the system form working.
Look at the left side in the above two pictures. Can you see the issues on the connector labeled "TOP"?

It turned out the main issue keeping the H8 from starting up properly, was bad pin crimps.  The "TOP" connector makes up one of two connectors that plug in to the H8's back plane at location P1. Both the "TOP" and "BOT" connectors create the interconnection between the H8 front panel and the system back plane. A review of these connectors showed a  total of five pins with poor to bad crimps. One was physically damaged in some way. Three of these pins are clearly visible in the left above picture.

My decision was to remove and cut off all of the crimped pins for both connectors. Then each wire was re-crimp using my lab's professional crimping tools. I also changed from the basic tin pins originally supplied with the kit, to gold plated ones while I was at it. The resulting repaired "TOP" connector is shown in the right hand picture.

With this repair in place, the H8 again sprang to life with all supplied board seemed to be fully functional. The ease of the repair surprised me. I planed on doing a lot more major reiteration work.
The big noisy fan has to go.
The oversized fan and it's bad wiring
Adding a cooling fan to an H8 was a popular user upgrade. To help keep the cost down, Heathkit attempted to design a passive cooling arrangement in to the H8. Many verbalization slots in the case cover and many holes in the bottom would allow cool air to flow from the bottom through the system's boards and the warm air would exit out the top. In theory keeping the system within safe operating parameters.

Unfortunately, this cooling system design did not always work as planned. My last year working at my Heathkit store, I worked as a repair technician fixing all types of user induced problems. I saw many H8s come over my bench that where assembled correctly but with burned out voltage regulators or in some cases 8080 processors. It is my opinion that these system where running too hot.

Like many others, at some point the original owner installed a fan. A big, noisy, 120Vac, 120x120x38mm, 135CFM fan to help keep the system cool.

It is safe to say the system indeed ran cool!

Another issue I had was the 120Vac cable that connected the fan to the main power switch on the back of the system used some form of cheep, 18AWG, zip-type extension cord. Two wire-nuts and some "masking tape" was used to connect the zip-cord to the fan's wiring. Also to accommodate the fan's power needs, the main system fuse was increased from the rated 1-amp slow-blow to a 5-amp one. To bad the other supporting ac wiring did not support this larger current draw.

Really the selected fan was overkill form what is really needed and the supporting wiring had to go!

Given there was already a 120x120mm hole pattern drilled in the left hand case side, any replacement fan really needed to use the same form factor as the old fan. I selected a nice ball bearing fan that measured 120x120x25mm, moved 70CFM@29db(A) and  runs using 10VDC@250mA. A wiring harness with an in-line fuse was created to connect the fan directly to the H8's main power capacitor.

The main system power fuse was replaced with the correct 1-amp version.

The resulting cooling generated by the now quiet fan still keeps all the system's cards running well within their safe operation ranges.
Huston we have a problem!
Okay so I spoke too soon. There was a hard to find issue with the 32K of static RAM that came with the system.

I did do several hours of memory testing on each of the three supplicated memory cards looking for any memory issues. In this original testing nothing became apparent.

The issue that would take me hours to locate became apparent one day while I was loading and working with the H8's Benton Harbor BASIC interpreter. It first showed up when I loaded version 10.6.0 from tape. Every time I created a short BASIC program and then tried to list it out, all the line numbers would be in decimal form. So line 10 turned in to 0.14267 in a list.

When I then loaded version 10.5.1 of the BASIC, everything seemed to work. So is the tape image of the 10.6.0 I'm using corrupted? I starting to use the 10.5.1 version.

Everything seemed to work with the 10.5.1 with the exception that every once and a while the BASIC would just lockup for no reason. There seemed to be no patterns in these lockups that I could discern. Could the 10.5.1 have some type a memory leak or other coding issue?

Over time the lockup issue started to get on my nerves. Then one day when the system located up again, I did not power the system down but instead entered in and then ran the simple RAM test program that came from the Heathkit H8 operations manual.

BINGO! The test program found that a small bock of locations, in the upper 4K bank, on one of the two 8K SRAM cards had stuck bits in the high state.  Moreover the issues would come and go intermittently. Further more this issue took time to appear after the computer was powered up from a cold state.

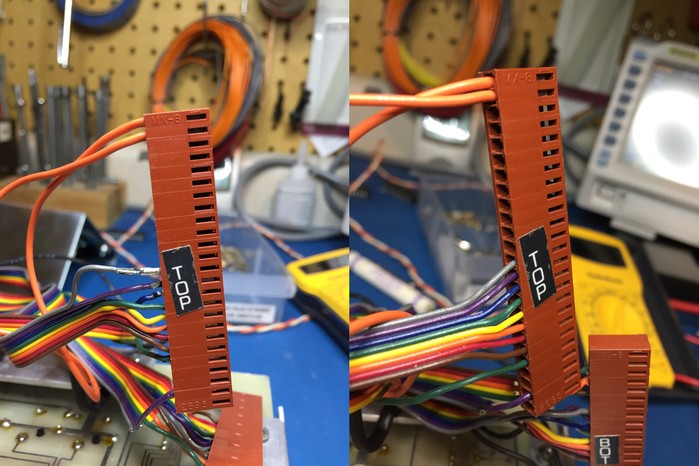
The picture above shows the offending TSM4044 SRAM chip that was located in IC108 on the H8-3 card.

I replaced all eight of the TMS4044 chips with newer and factory fresh P2141 version I already have in my restoration parts stock. Plugging in the repaired board, several different memory test programs for where run over two days.

Now all version of BASIC 10.6.0 and 10.5.1 work.  All the BASIC programs that I have been porting over are also now working. No more lockups.

So everything seems to now be working again??? Lets hope so!
Adding two standard DB9 connectors.
Two DB9 connectors using old holes
The classic H8 computer featured three rectangular holes label 1 through 3 on the back side of the unit.  These three holes where there to support the additions of Molex 15-pin connectors. It was through these Molex connectors that you connected your H8 to serial peripherals like the H9 terminal or the H14 dot-matrix printer.

While these connectors where functional, they where not conferment to the normal standard DB25 or later the smaller DB9 connectors in use for RS232 based serial communications.

To make my H8 easier to interface to all the DB style cabling I already had in place for all my other retro computer systems, I opted to slightly modify two of the three holes labeled 1 and 2. To mount a standard DB9 connector in to one of these rectangular holes, two shallow half-moon shaped slots needed to be filed in to the case.

While I hate making a physical change like filing slots in to my vintage H8, I felt the end results of standardizing my serial cabling justified that modification. If I wished to use the original Molex 15-pin connectors, I could with the connectors covering most of the modification.

With this modification in place, I can now connect my terminal to DB9 connector labeled 1 and use the second DB9 labeled 2 for transferring H8T formatted files between my laptop and the H8.